System requirements Magento2 v2.4.6 (latest):
Official info: https://experienceleague.adobe.com/docs/commerce-operations/installation-guide/system-requirements.html
| Software dependencies | Version(s) |
|---|---|
| Apache | 2.4 |
| nginx | 1.24 |
| PHP | 8.2, 8.1 |
| MariaDB | 10.6 |
| MySQL | 8.0 |
| Composer | 2.2 |
| Redis | 7.0 |
| RabbitMQ | 3.11, 3.9 |
| Elasticsearch | 8.5, 7.17 |
| OpenSearch | 2.5 |
On-premises installation overview
High-level overview of on-premises installations of Magento Open Source
Official info: https://experienceleague.adobe.com/docs/commerce-operations/installation-guide/overview.html
General installation flow
- 1) Set up server environment:
- !!!) If you use different than recommended OS — you may install Virtual Machine (VMware, Virtual Box etc.), and tools like Docker, for testing purposes
- 1.1)
Linux OS: Ubuntu, RHEL, CentOS or Debian.Microsoft Windows and macOS are not supported - 1.2)
Web Server— Install the prerequisite software, including Apache, PHP, MySQL, and the search engine:- 1.2.1)
Apache
Official info: https://experienceleague.adobe.com/docs/commerce-operations/installation-guide/prerequisites/web-server/apache.html#installing-apache-on-centos - 1.2.2)
PHP
Official info: https://experienceleague.adobe.com/docs/commerce-operations/installation-guide/prerequisites/overview.html - 1.2.3)
MySQL
Official info: https://experienceleague.adobe.com/docs/commerce-operations/installation-guide/prerequisites/database-server/mysql.html
- 1.2.1)
- 1.3)
Composer: Composer
Official info: https://getcomposer.org/ - 1.4)
Search engine: Elasticsearch or OpenSearch
Official info: https://experienceleague.adobe.com/docs/commerce-operations/installation-guide/prerequisites/overview.html#search-engine
https://experienceleague.adobe.com/docs/commerce-operations/configuration-guide/search/overview-search.html
You must install and configure either Elasticsearch or OpenSearch before installing Adobe Commerce 2.4.4 and later
Preparing to Download Magento
- 2.1) Get authentication keys to the Commerce Composer repository.
Official info: https://experienceleague.adobe.com/docs/commerce-operations/installation-guide/prerequisites/authentication-keys.html
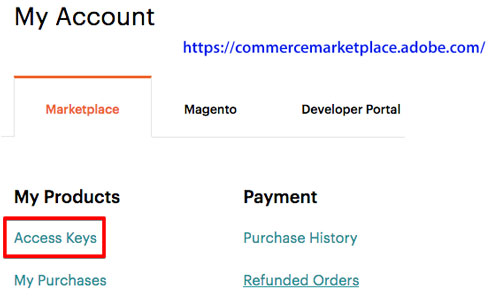
a) https://commercemarketplace.adobe.com/
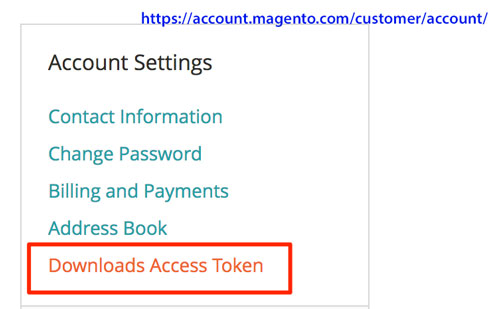
b) https://account.magento.com/customer/account/login 3) Download Magento Open Source software:


2.1) Obtain Access Keys from Magento Site
To install Magento we need the access keys from Magento official site.
Sign in into Magento Marketplace and navigate to My Profile → Access Keys in Marketplace tab.
You can generate new keys by clicking the button Create A New Access Key or copy previously created keys.
These keys can be used for authorized downloads of the Magento Open Source 2.X platform, extensions, and themes.
Note the Access keys for future references. Use the Public key as your username and the Private key as your password.
2.2) Log in as file system owner
Official info:
https://experienceleague.adobe.com/docs/commerce-operations/installation-guide/composer.html#log-in-as-file-system-owner
https://experienceleague.adobe.com/docs/commerce-operations/installation-guide/prerequisites/file-system/overview.html
1) Log in to the application server as, or switch to, a user with permissions to write to the file system.
2) To run CLI commands from any directory, add <magento_root>/bin to your system PATH. Sample bash shell for CentOS:
export PATH=$PATH:/var/www/magento2.loc/bin
Option a): Download the Composer metapackage
To get the Adobe Commerce or Magento Open Source metapackage:
1) Log in to your server (SSH or Terminal)
2) Switch to the Apache web root directory of your server:
cd /var/www/
3) Create a Magento Project using Composer:
sudo composer create-project --repository-url=https://repo.magento.com/ magento/project-community-edition=2.4.6 magento2.loc
(Replace magento2.loc with the desired installation path for your Magento 2 project)
When prompted, enter your authentication keys. Public and private keys are created and configured earlier
It will take some time for the Composer to download and install all the required dependencies.
4) Set file permissions. You must set read-write permissions for the web server group before you install Adobe Commerce or Magento Open Source. This is necessary so that the command line can write files to the file system:
cd /var/www/magento2.loc
sudo chmod -R 755 /var/www/magento2.loc +
sudo find var generated vendor pub/static pub/media app/etc -type f -exec chmod g+w {} +
sudo find var generated vendor pub/static pub/media app/etc -type d -exec chmod g+ws {} +
sudo chmod u+x bin/magento
Provide the ownership of the files to the Apache user:
sudo chown -R apache:apache /var/www/magento2.loc
5) Restart Apache:
sudo systemctl restart httpd
Next step: Install Magento 2.4.6
Option b): Clone the GitHub repository
1) Log in to your server (SSH or Terminal)
2) Switch to the Apache web root directory of your server:
cd /var/www/
3) Download Magento 2.4.6 with the following command:
wget https://github.com/magento/magento2/archive/refs/tags/2.4.6.tar.gz
4) Extract the downloaded tar file using the following command:
tar -xvzf 2.4.6.tar.gz
Once you extract the file, you will see a folder named magento2-2.4.6
5) Move the extracted directory to the application directory:
mv magento2-2.4.6 /var/www/magento2.loc
Change the directory to magento2.loc folder:
cd /var/www/magento2.loc
6) Set file permissions. You must set read-write permissions for the web server group before you install Adobe Commerce or Magento Open Source. This is necessary so that the command line can write files to the file system:
sudo chmod -R 755 /var/www/magento2.loc +
sudo find var generated vendor pub/static pub/media app/etc -type f -exec chmod g+w {} +
sudo find var generated vendor pub/static pub/media app/etc -type d -exec chmod g+ws {} +
sudo chmod u+x bin/magento
Provide the ownership of the files to the Apache user:
sudo chown -R apache:apache /var/www/magento2.loc
7) Restart Apache:
sudo systemctl restart httpd
Next step: Install Magento 2.4.6
Install Magento
- 4.a) Use the command line — Magento CLI
Official info:
https://experienceleague.adobe.com/en/docs/commerce-operations/configuration-guide/cli/config-cli - 4.b) Use Docker project
Official info:
https://developer.adobe.com/commerce/contributor/guides/install/docker/
If the step fails because prerequisite software isn’t set up correctly, review the prerequisites.
Official info: https://experienceleague.adobe.com/docs/commerce-operations/installation-guide/prerequisites/overview.html
4.a) Use the command line — Magento CLI
You must use the command line to install Adobe Commerce or Magento Open Source. Web installation wizard has been removed since version 2.3.7
Run the following command to begin the Magento installation process. This example assumes that the install directory is named magento2.loc, the db-host is on the same machine (localhost), and that the db-name, db-user, and db-password are all magento:
sudo -u apache bin/magento setup:install \
--base-url=http://magento2.loc/ \
--db-host=localhost \
--db-name=magento \
--db-user=magento \
--db-password=magento \
--admin-firstname=admin \
--admin-lastname=admin \
--admin-email=admin@magento2.loc \
--admin-user=admin \
--admin-password=AdminPas$123 \
--language=en_US \
--currency=USD \
--timezone=UTC \
--cleanup-database \
--use-rewrites=1
You must customize these parameters!
The Admin URI displays in your console when installation is complete.
==============================================================Possible error:
cache_dir "/var/www/magento2.loc/var/page_cache" is not writable
Official info: https://experienceleague.adobe.com/docs/commerce-operations/installation-guide/prerequisites/security.html#suggestion-for-installing-with-apache
If you choose to enable SELinux, you might have issues running the installer unless you change the security context of some directories as follows:
sudo chcon -R --type httpd_sys_rw_content_t /var/www/magento2.loc/app/etc
sudo chcon -R --type httpd_sys_rw_content_t /var/www/magento2.loc/var
sudo chcon -R --type httpd_sys_rw_content_t /var/www/magento2.loc/pub/media
sudo chcon -R --type httpd_sys_rw_content_t /var/www/magento2.loc/pub/static
sudo chcon -R --type httpd_sys_rw_content_t /var/www/magento2.loc/generated
OR try to set SELinux in permissive mode or disabled mode - Open the /etc/selinux/config file in a text editor:
sudo nano /etc/selinux/config
SELINUX=permissive
OR try to change permissions for temp folders:
sudo chmod -Rf 777 var
sudo chmod -Rf 777 pub/static
sudo chmod -Rf 777 pub/media
AND try to disable the Elasticsearch module:
sudo -u apache bin/magento module:disable {Magento_Elasticsearch,Magento_Elasticsearch6,Magento_Elasticsearch7}Restart the system:
reboot
Next step: Verify Installation
4.b) Use Docker to set up a system with all the requirements to run Magento Open Source
Sources:
https://developer.adobe.com/commerce/contributor/guides/install/docker/
https://github.com/markshust/docker-magento
https://hub.docker.com/r/markoshust/magento-nginx/
As well as using the native installation path to set up a system with all the requirements to run Adobe Commerce or Magento Open Source, you can also use Docker, either with a custom project or using an existing solution. There are several advantages in using Docker instead of a native set up:
- It is generally easier to set up a Docker-based development environment than a native one
- Reproducing the same environment in another machine is just a matter of copying a
Dockerfileand/orcompose.ymlfiles to it and building new containers from them - It allows you to replicate the same set up that you have in production inside a container
- You can have different containers with different configurations for extensive testing
- For demos, Commerce Cloud compatibility testing and basic development
Let's look at installing Magento using a Docker project. There are a large number of projects, and in this example we will focus on the project from Mark Shust - Adobe Commerce Certified Magento Developer, Architect & Teacher.
Automated Setup (New Project)
Step 1: Create your project directory then go into it:
mkdir -p ~/Sites/magento246
cd $_
Step 2: Run this automated one-liner from the directory you want to install your project:
sudo curl -s https://raw.githubusercontent.com/markshust/docker-magento/master/lib/onelinesetup | bash -s -- magento2-test.com 2.4.6-p4 community
NOTE: Use your own hierarchy for a project instead of the /Sites/magento246 above.
The magento2-test.com above defines the hostname to use, and the 2.4.6-p4 defines the Magento version to install. Use your own data.
After the one-liner above completes running, you should be able to access your site at magento2-test.com.
Install sample data
After the above installation is complete, run the following lines to install sample data:
bin/magento sampledata:deploy
bin/magento setup:upgrade
Next step: Verify Installation
Verify Installation
- 5) Open the store front and admin pages
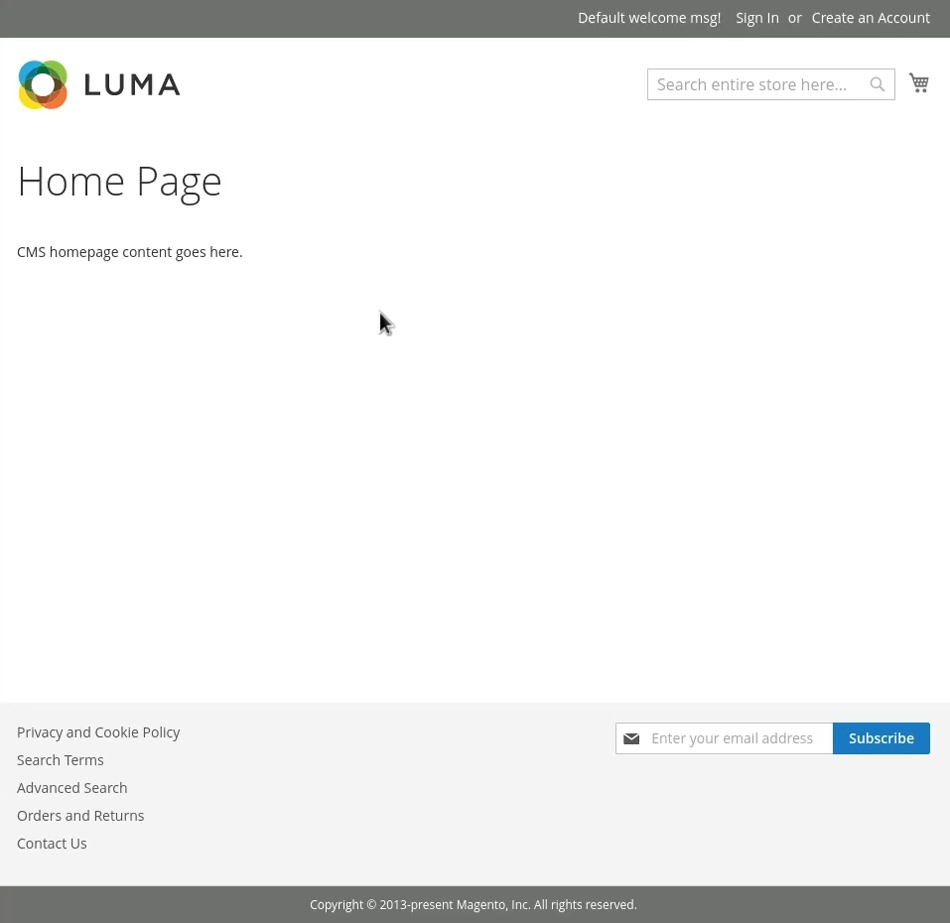
5.1) Go to the storefront in a web browser. For example, if your installation base URL is http://magento2.loc, enter it in your browser’s address or location bar.
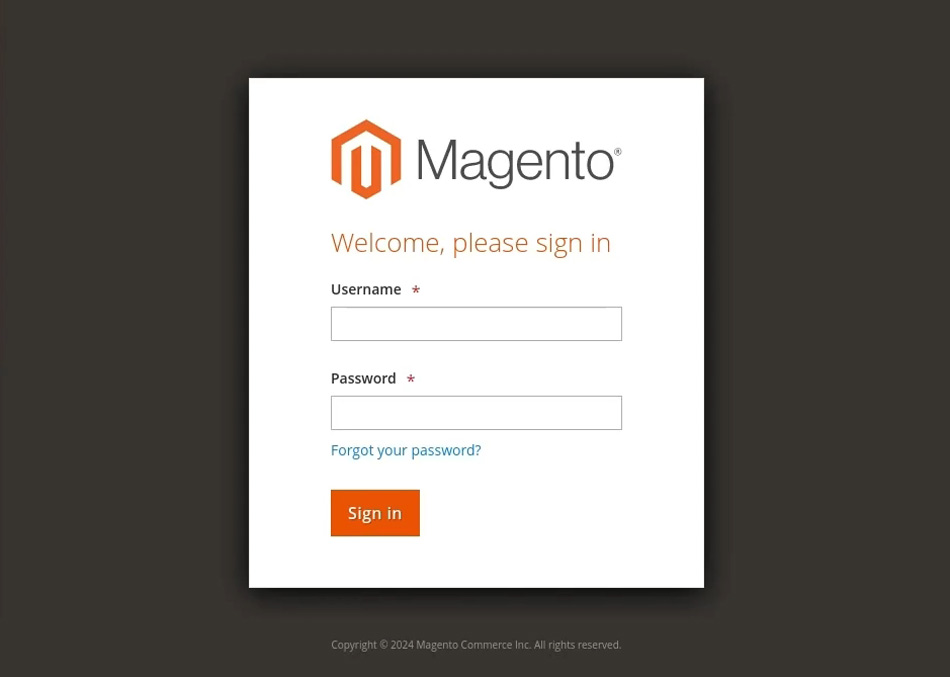
5.2) Go to the Admin in a web browser. For example, if your installation base URL is http://magento2.loc, and the Admin URI is admin_dxmbk1, enter http://magento2.loc/admin_dxmbk1 in your browser’s address or location bar.
Official info: https://experienceleague.adobe.com/docs/commerce-operations/installation-guide/next-steps/verify.html


For ease of development, you can place your Magento application into development mode:
sudo php bin/magento deploy:mode:set developer
For a local development environment, you can to disable Two factor Authentication (2FA) module in Magento 2.4.6. To do this run below commands in terminal Magento root path:
bin/magento module:disable Magento_AdminAdobeImsTwoFactorAuth
bin/magento module:disable Magento_TwoFactorAuth
bin/magento cache:flush
Configuration Magento best practices
Official info:
https://experienceleague.adobe.com/docs/commerce-operations/performance-best-practices/configuration.html